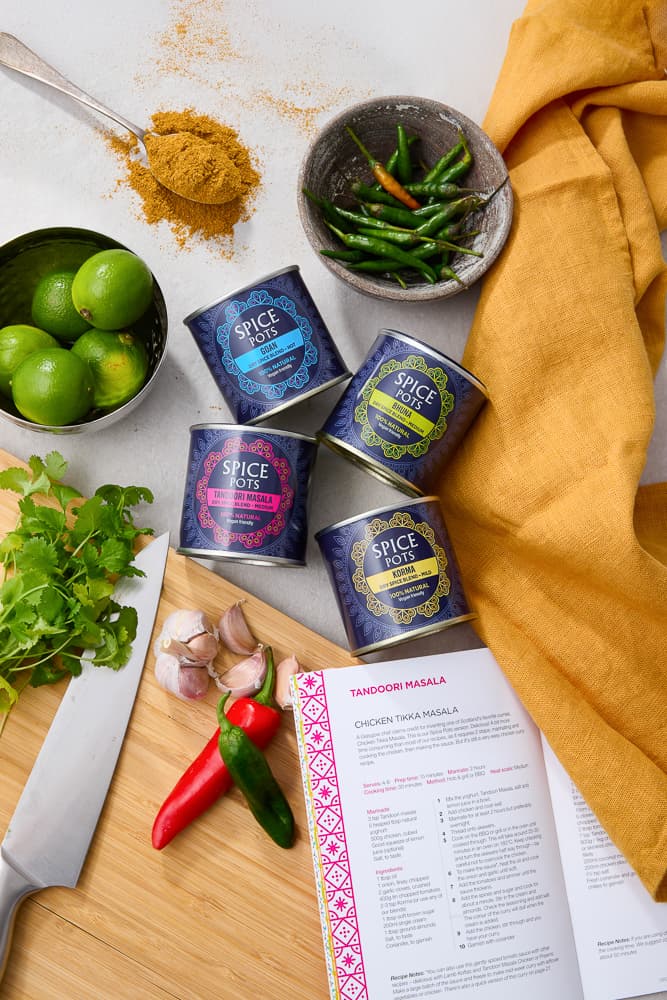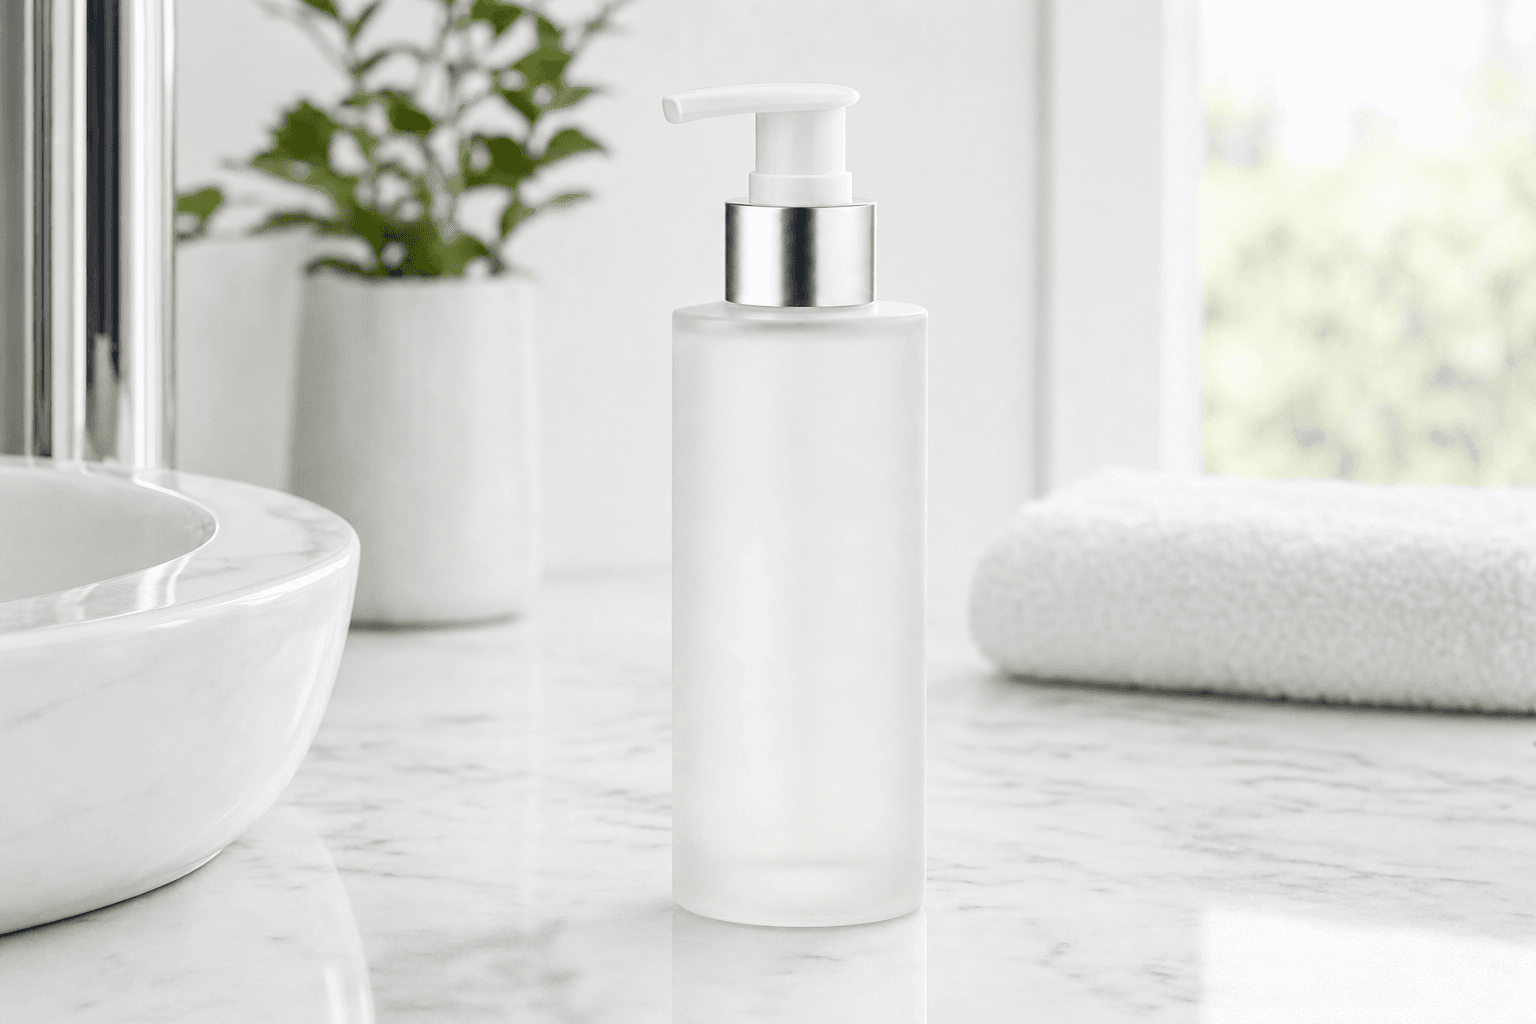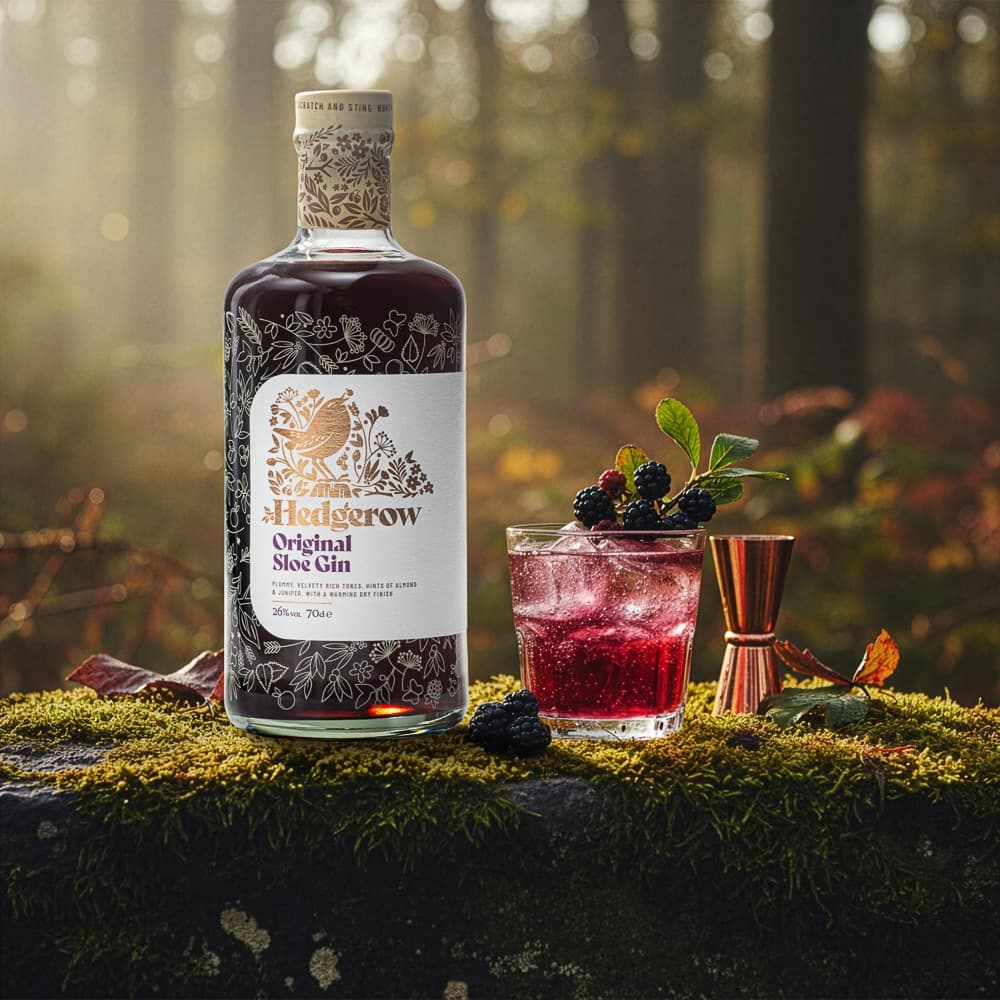
Hybrid imagery is a broad description. It might mean a photographed product composited into a digital scene, a generated image based on product references, or a photograph with local AI-assisted edits. These methods do not preserve the source in the same way. Agree the method and the required accuracy before production starts.
The benefit is choice. You can spend photographic effort where physical detail matters, then use digital tools to explore settings, layouts or seasonal variations around the brief.
1. Define the deliverables
List where each image will appear and what it needs to communicate. A narrow website banner needs different framing from a square product tile. A close detail image needs different source information from an atmospheric campaign scene.
Mark any fixed features: readable packaging, accurate materials, exact quantities, required colours and accessories. Keep the product list separate from styling props so nobody confuses what is sold with what creates the scene.
2. Prepare useful source images
Use sharp references with the whole product visible. Include additional angles when they reveal construction that the final scene may show. A transparent cut-out can be useful for compositing, but it is not a substitute for an appropriate camera angle or believable lighting.
For a new shoot, share the intended scene before capture. Matching camera height and light direction at this stage can reduce correction later. Keep an untouched source file available throughout the project.

3. Build the scene deliberately
Decide where the product sits, where light comes from and what the viewer notices first. Use props to explain use or support the brand, rather than filling every empty space. Leave room for copy if the image will become an advert or banner.
If the method redraws the product, review the result against the references. If it retains the photographed product, inspect edges, contact shadows and reflections where the two parts meet. A retained cut-out can still look wrong in an incompatible environment.
4. Finish and compare
Review at full resolution for small faults, then at the size customers will see. Check product wording, proportions, material, contact with surfaces and any hands or interaction. Compare all images in the set for colour and scale.
Human retouching can help resolve specific finishing problems, but do not assume every generated mistake is economical to repair. Sometimes another source angle or a simpler composition is the better decision.
| Look at | Check against |
|---|---|
| Product | Shape, wording, parts and approved references |
| Scale | Known dimensions and surrounding objects |
| Materials | Texture, finish and plausible reflections |
| Contact | Surface support, shadows and interaction |
| Delivery | Actual crop and display size |
5. Keep the approved assets organised
Save the source, approved output, intended use and version together. Clear naming helps prevent a rejected variant reaching a product listing. Keep evergreen product assets separate from seasonal treatments so they remain easy to reuse.
For self-service exploration, start with PMP AI Studio. For a managed combination of photography and digital finishing, see how digital composite lifestyle photography works.